Step 1: Find the Mazacourses Template
First, let's pull the Mazacourses automation from the eGrow library.
Log in to your eGrow account.
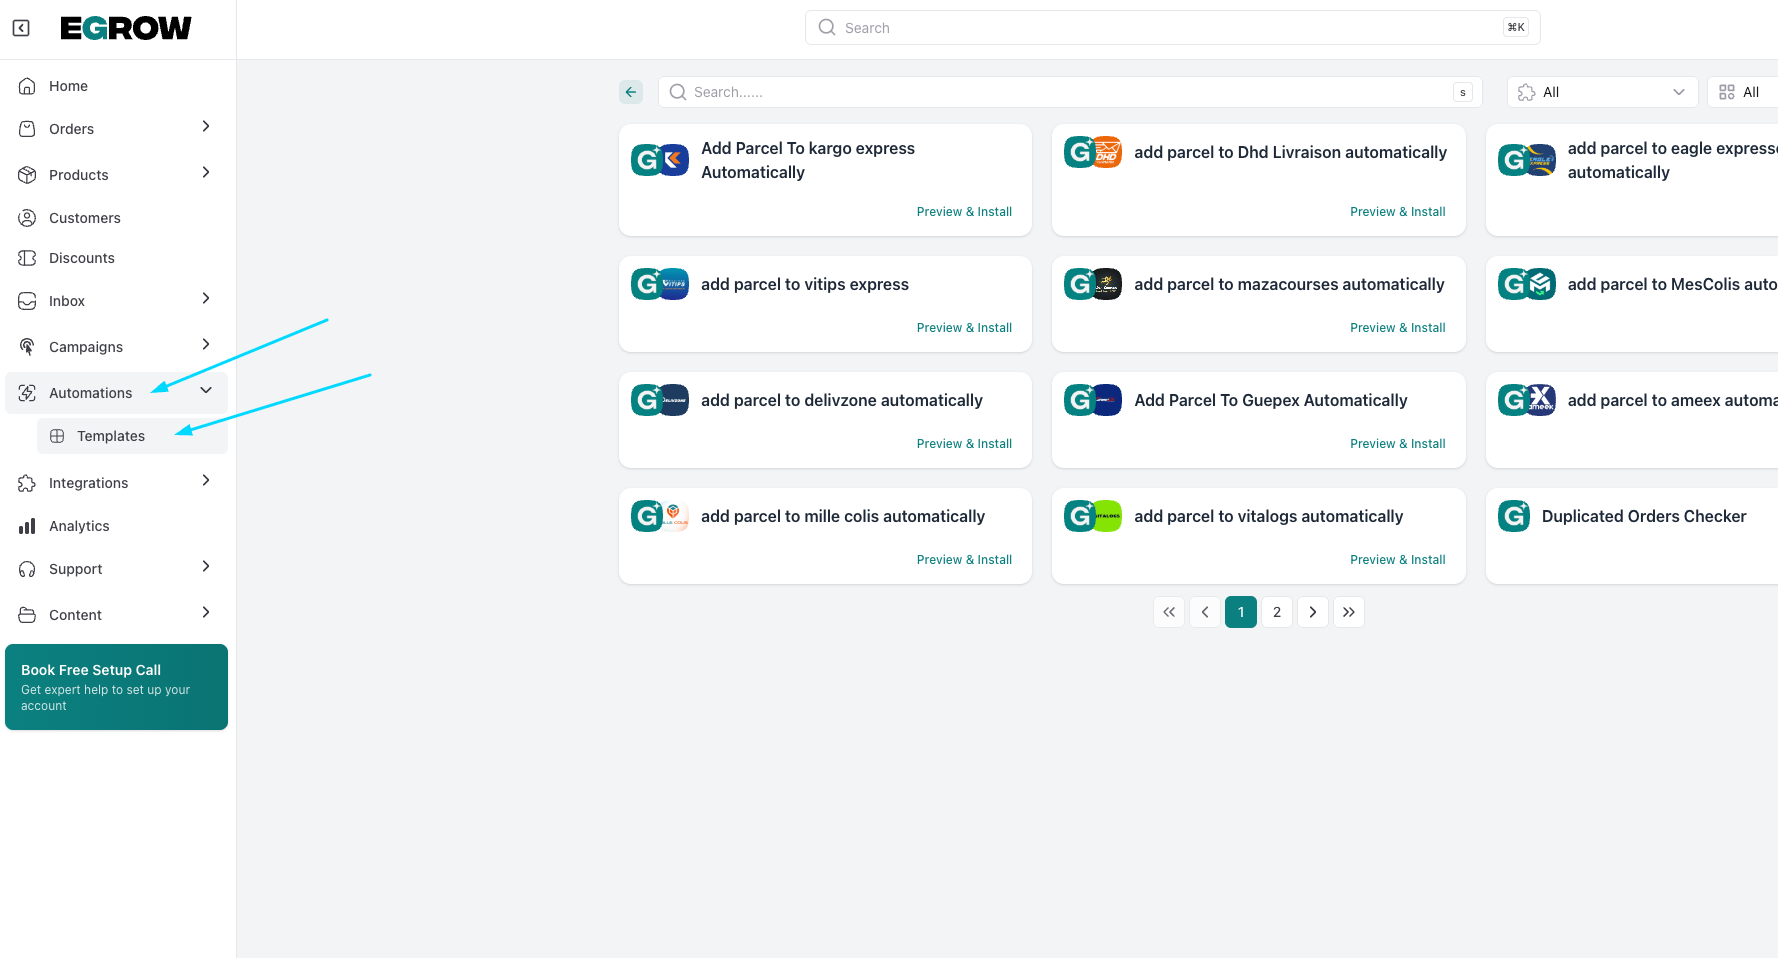
On the left-hand sidebar, click on Automations.
From the dropdown menu, select Templates.
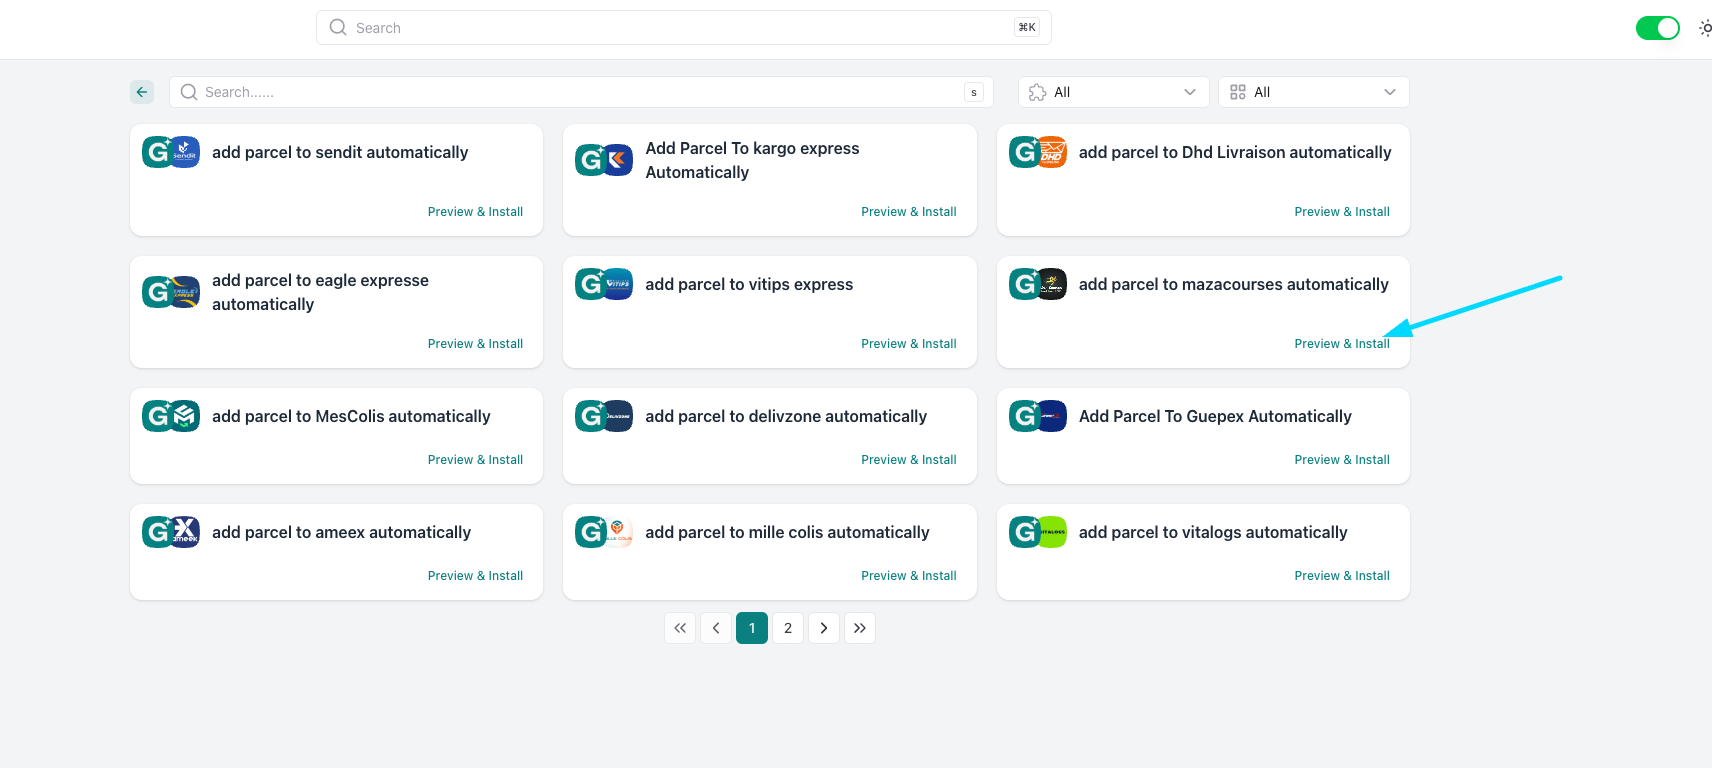
Search for the card titled "Add Parcel To Mazacourses Automatically."
Click the Preview & Install button.
Step 2: Name and Install Your Automation
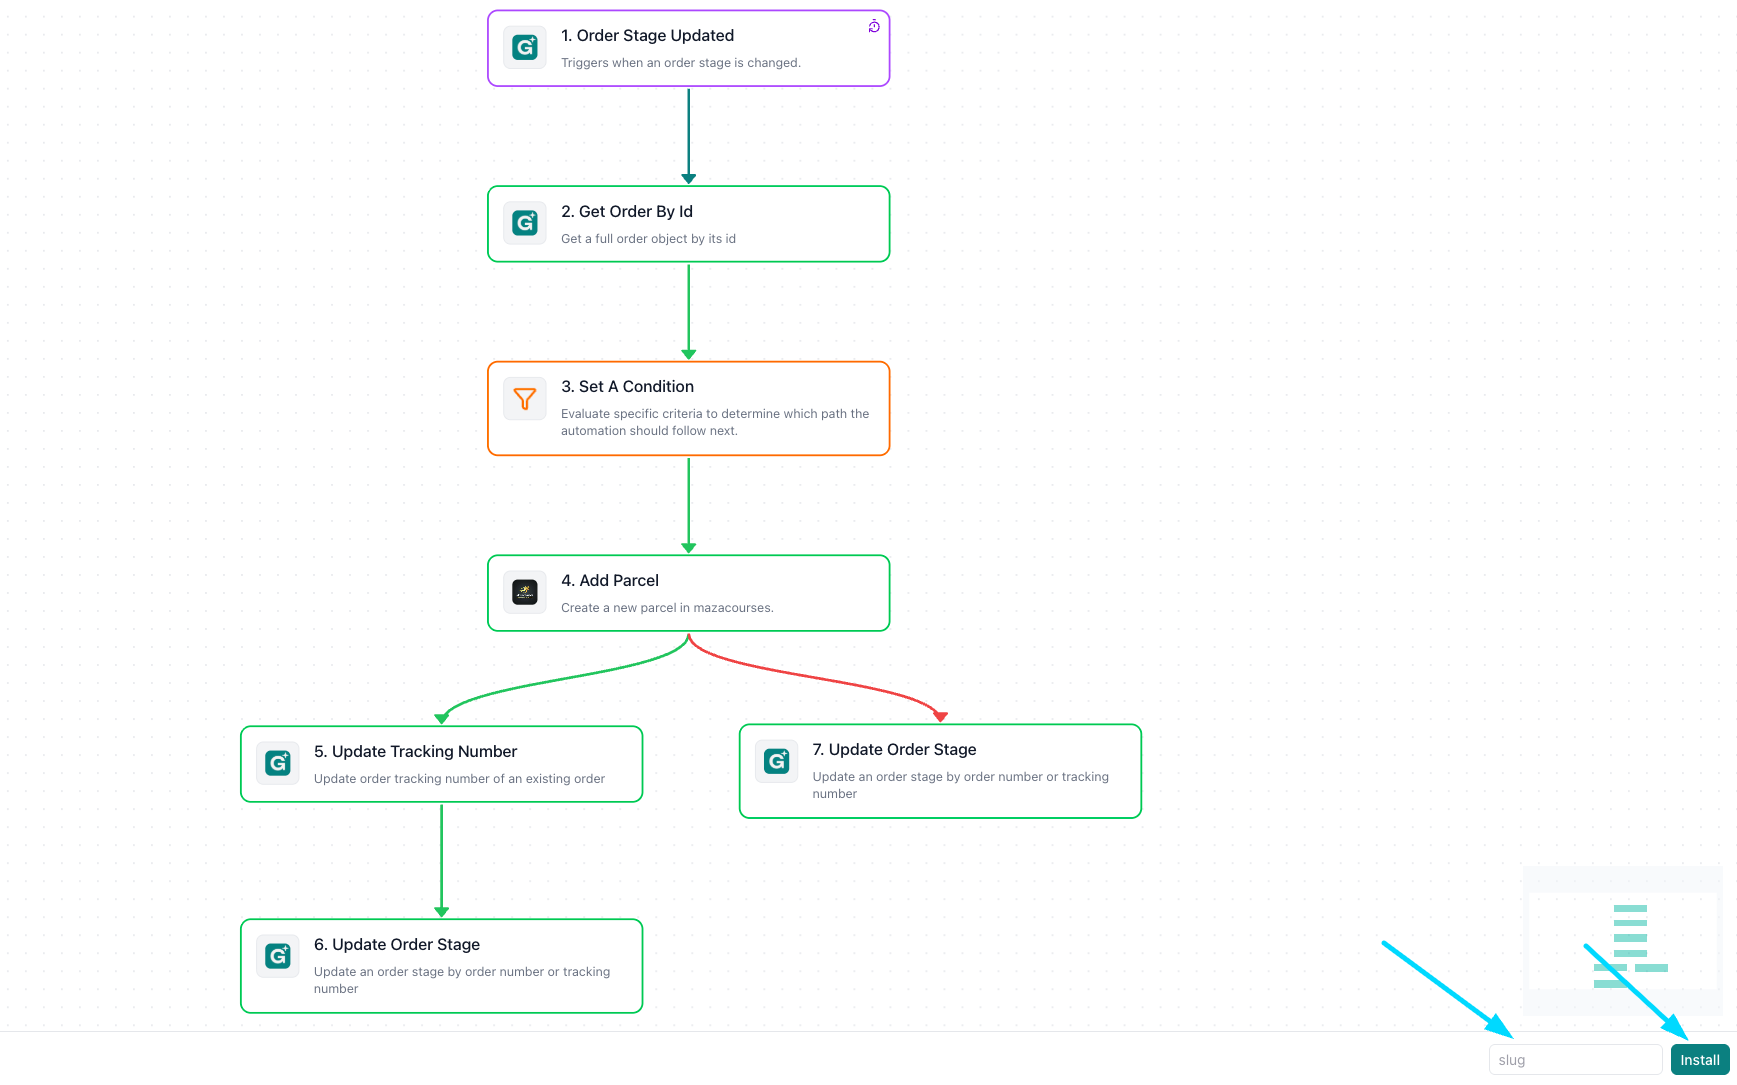
The "Preview" screen shows you the workflow. To save this to your own account, you just need to give it a nickname (a "Slug").
Look at the bottom right corner of the screen for the box labeled Slug.
Type in a simple identifier for this automation (for example:
mazacourses-delivery).Click the teal Install button to move the template into your workspace.
Step 3: Save and Activate
Once installed, you’ll be taken to the automation editor. Everything is already pre-configured for Mazacourses, so you're just one click away from finishing.
Review the visual workflow to see how your orders flow to the carrier.
Locate the Save Changes button in the top right corner of the page.
Click it to activate the automation.
Success! Your eGrow account is now synced with Mazacourses.
